I am finally getting around to sharing my June orange blocks for the RSC! They actually have been done but I never shared.

Here are the 5 traditional pieced blocks.

Here are all 6 month's colors together. I'm not sure of the final layout yet - whether in rows or intermingled.

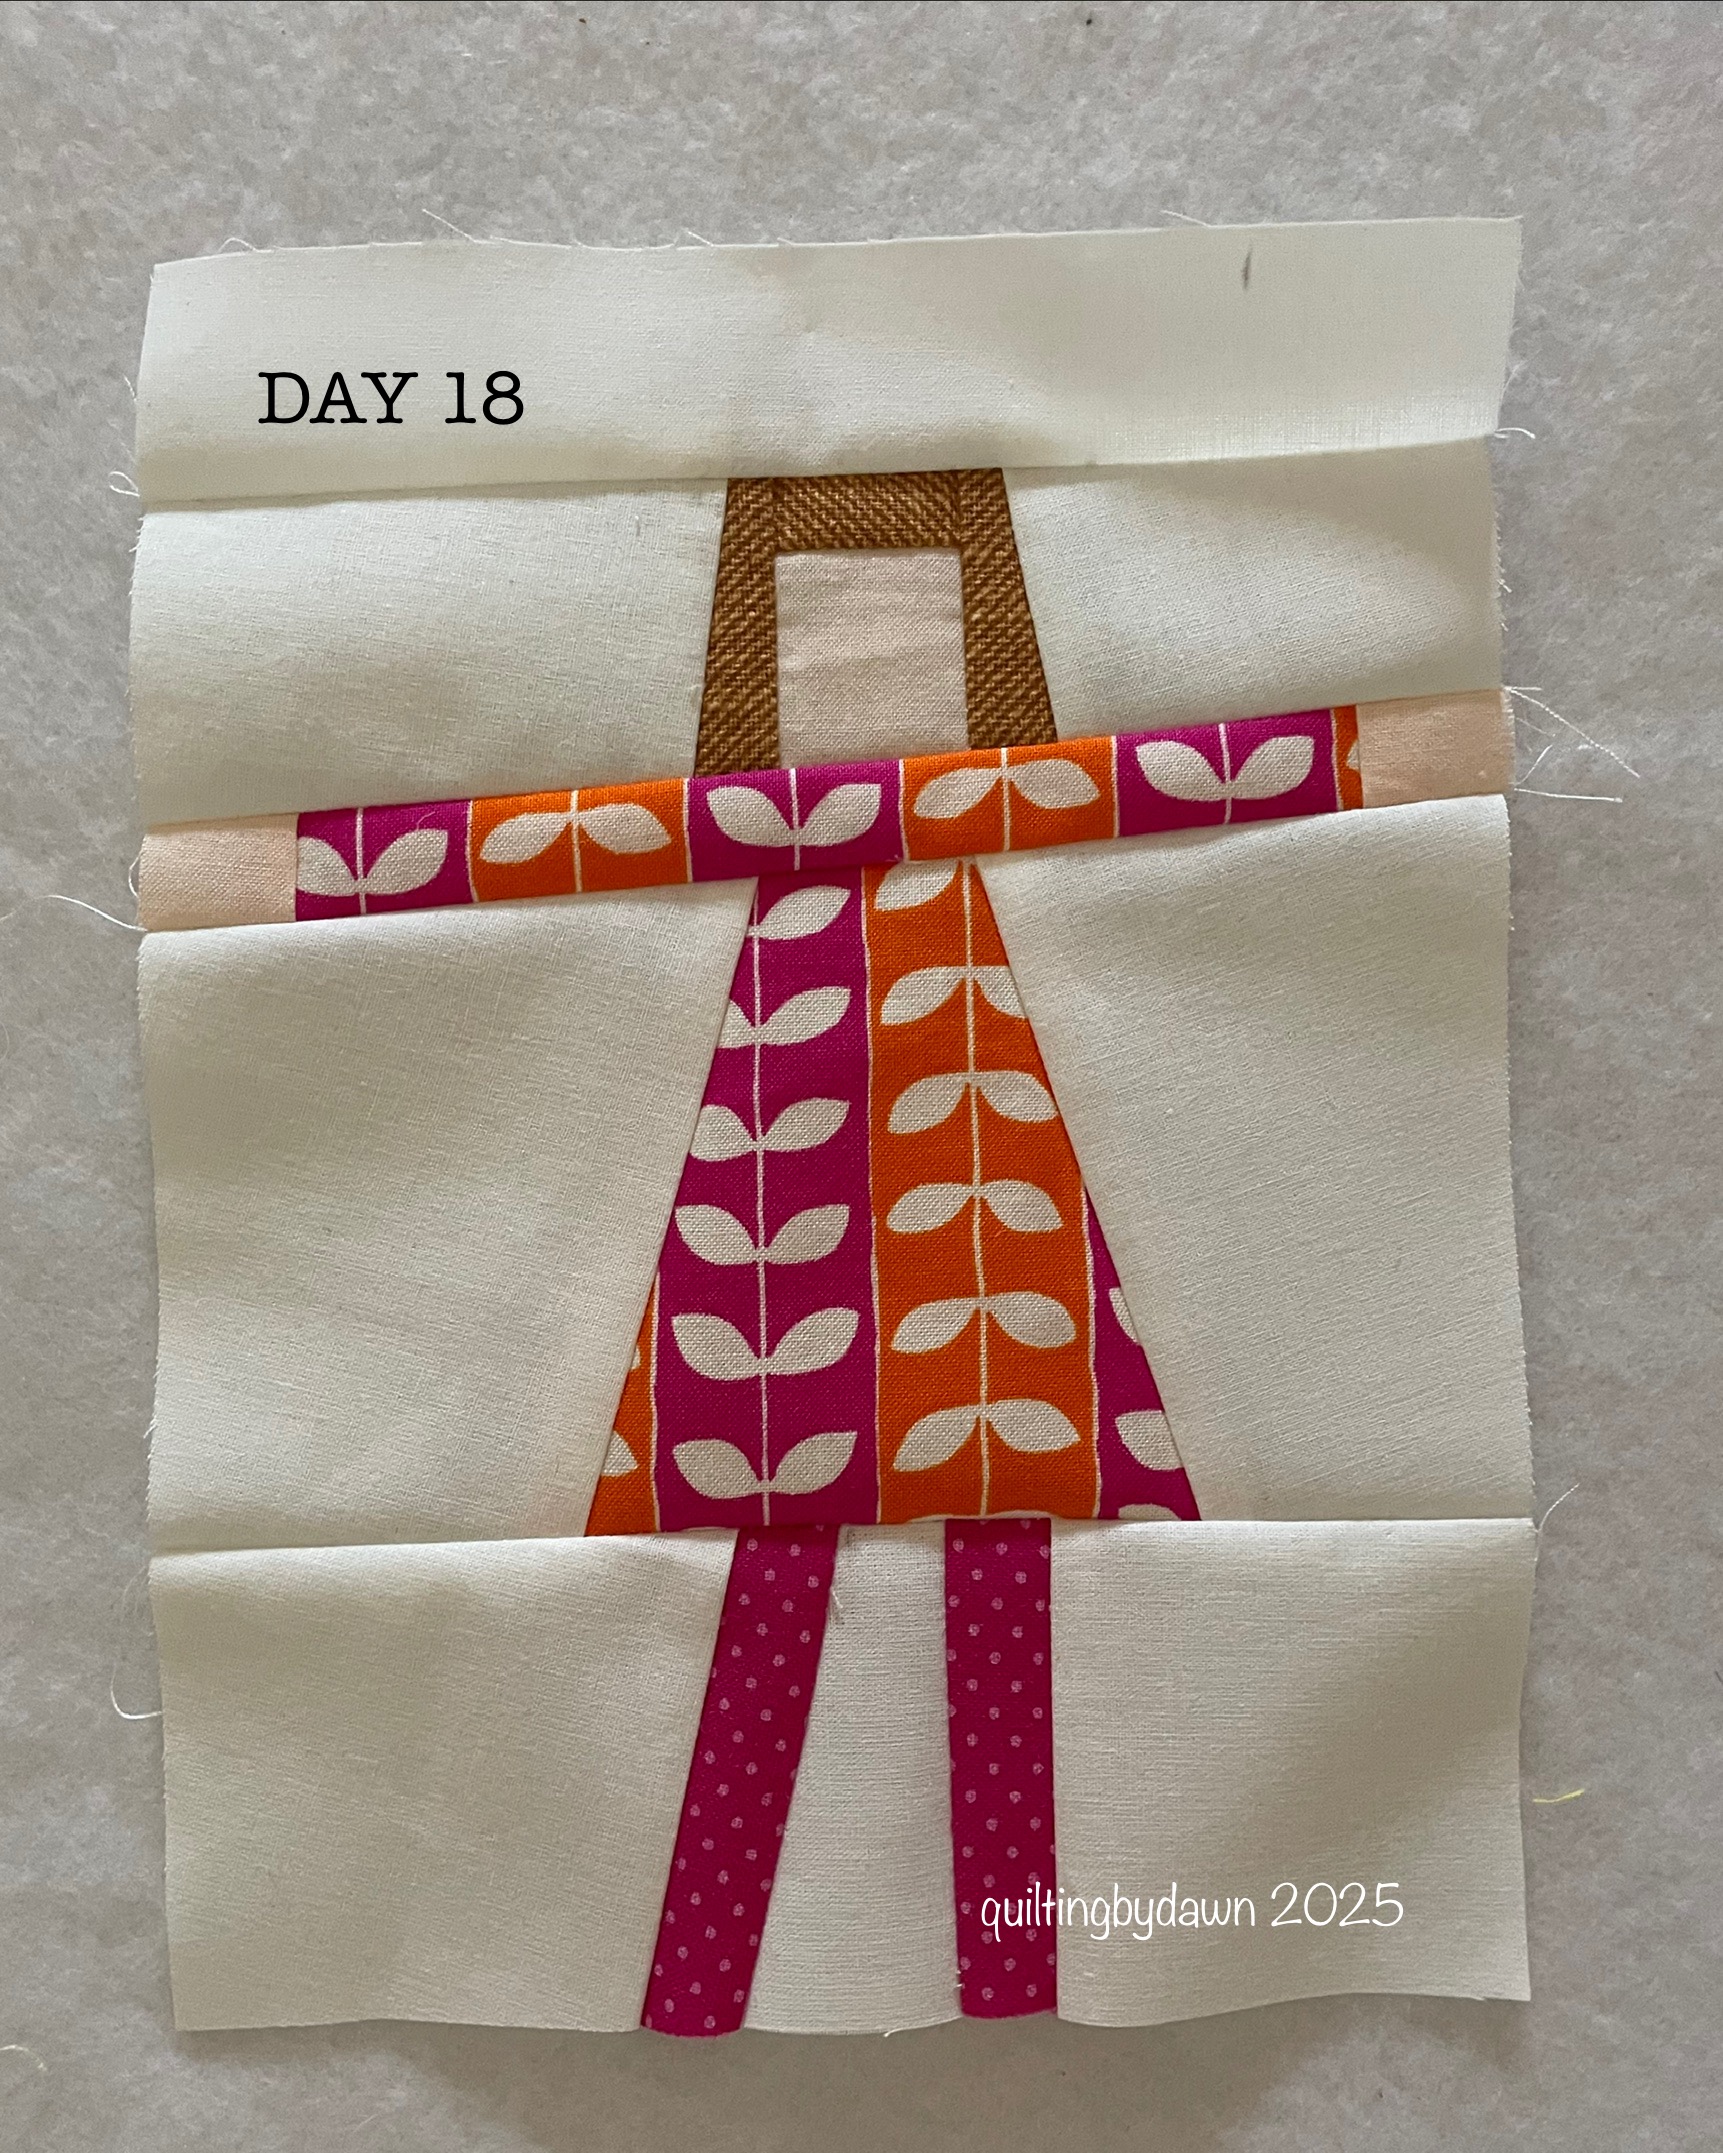
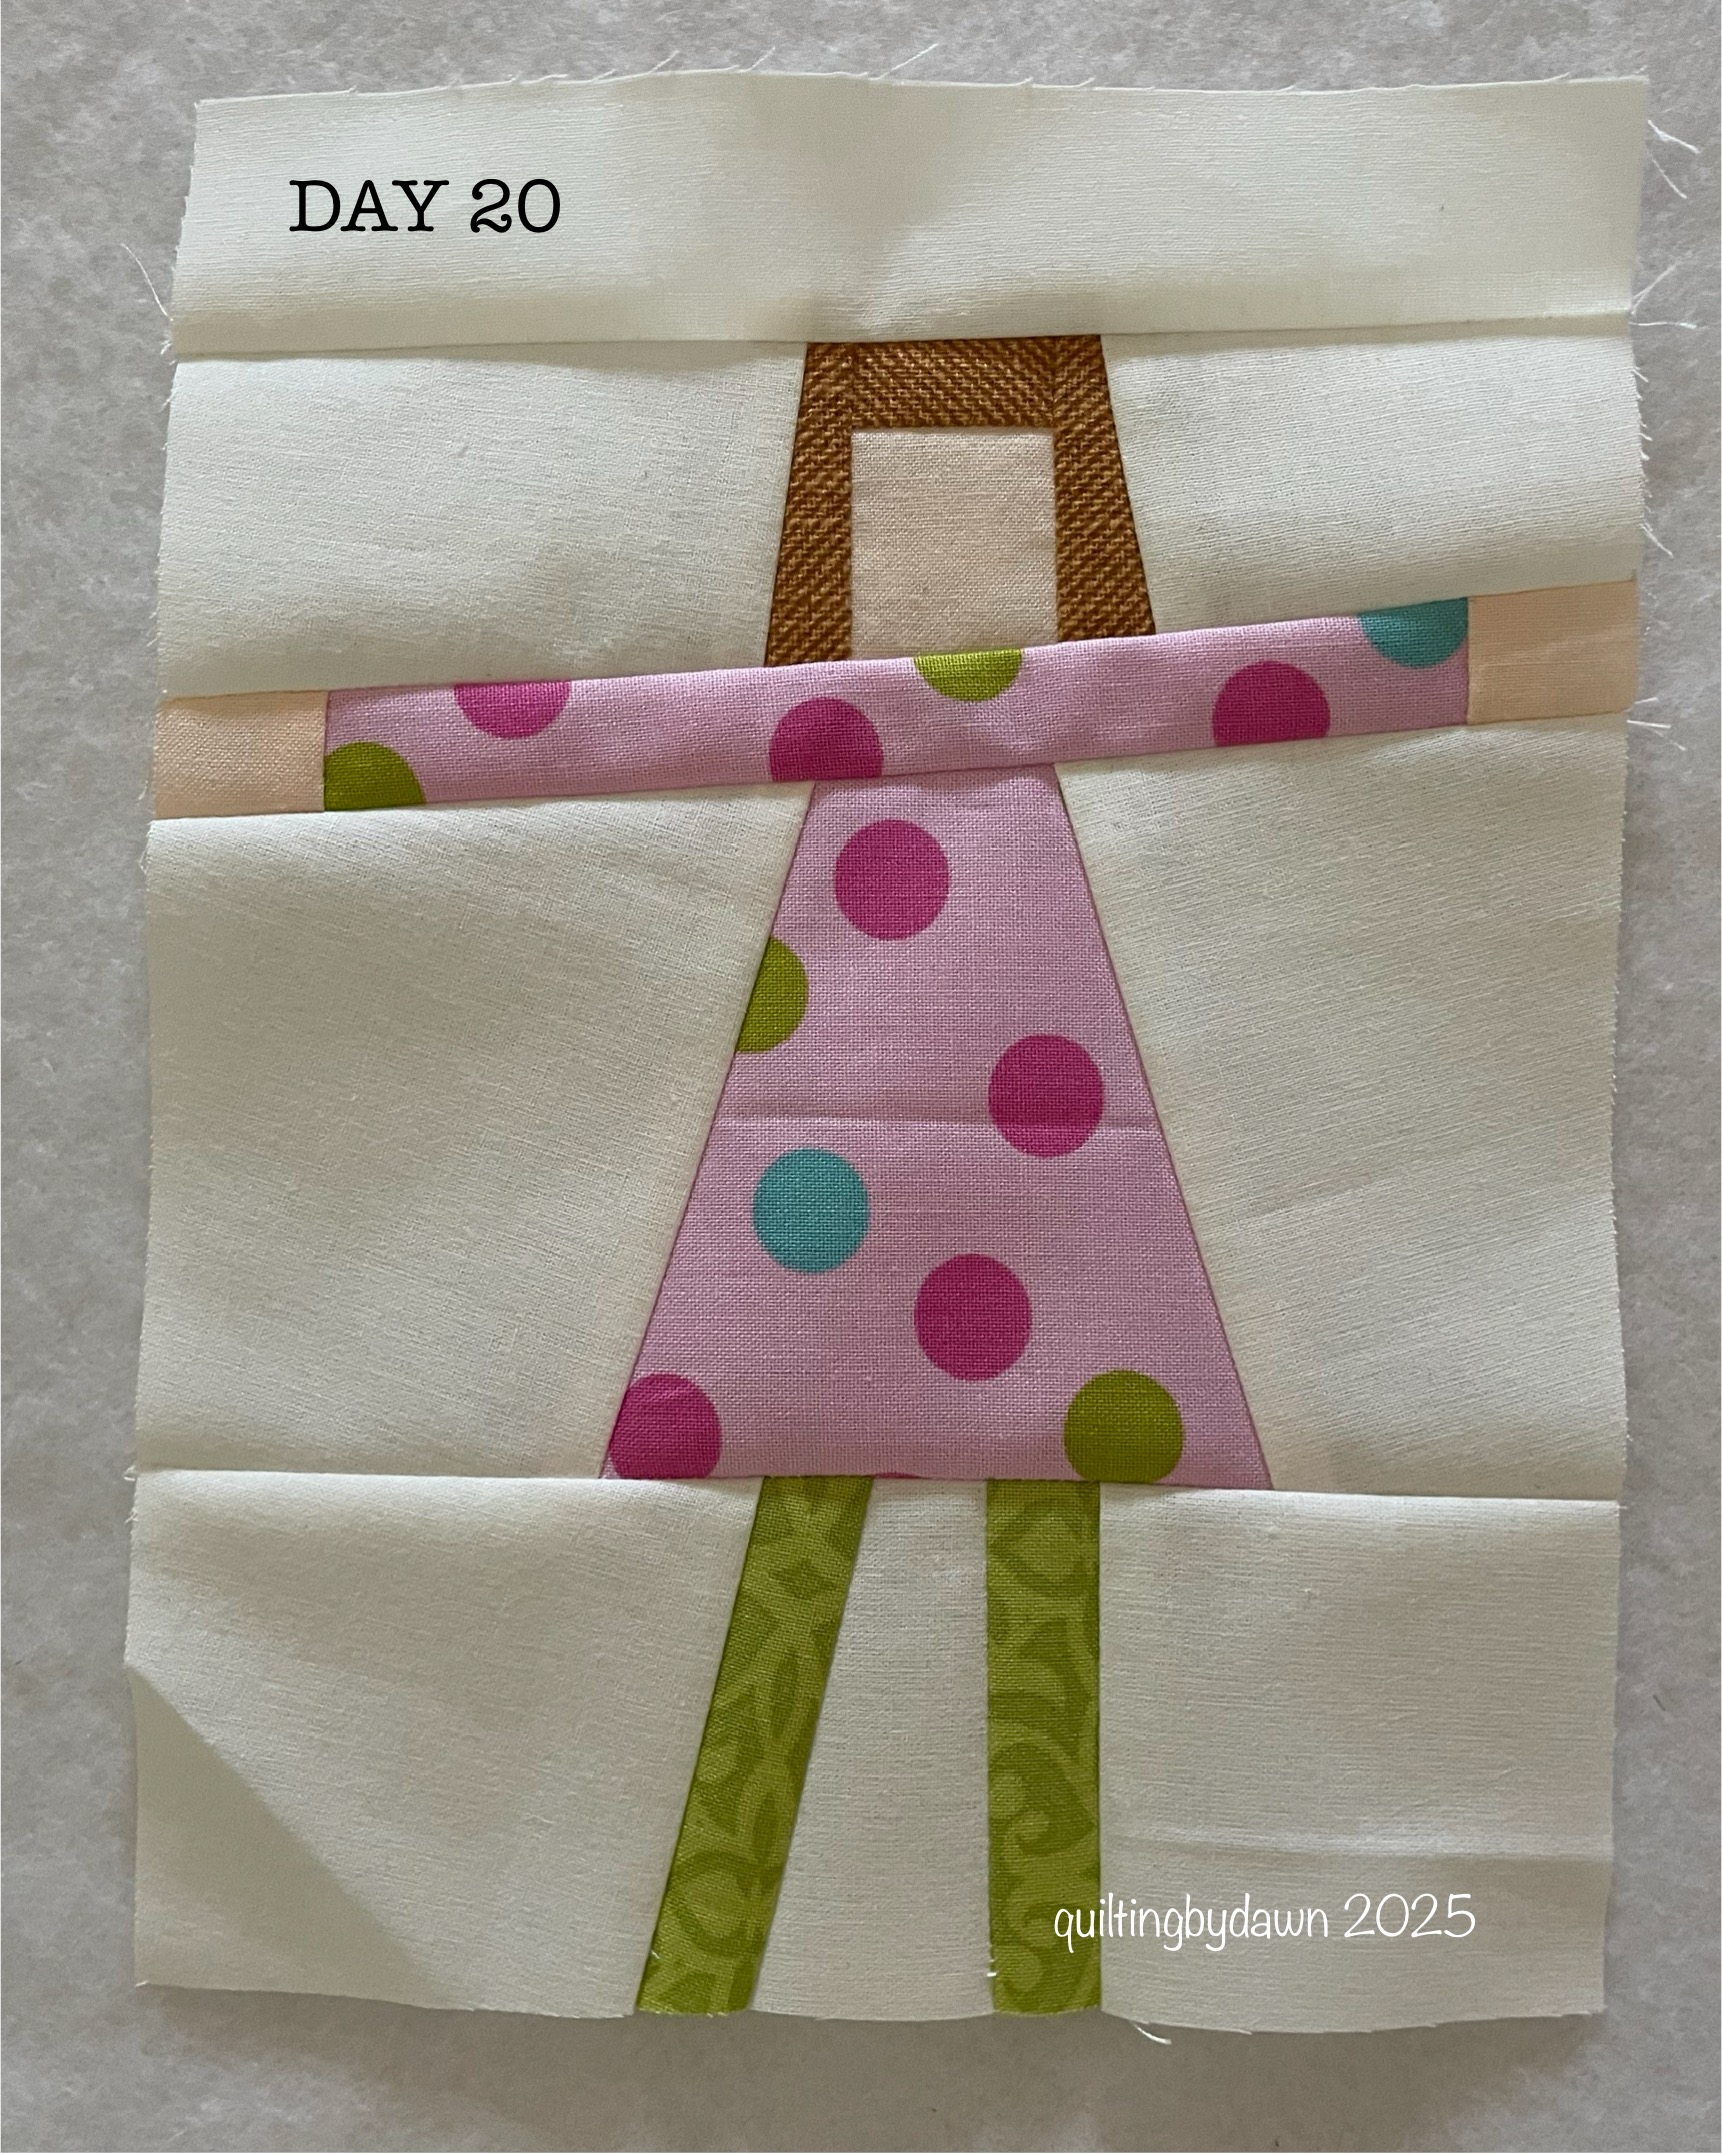
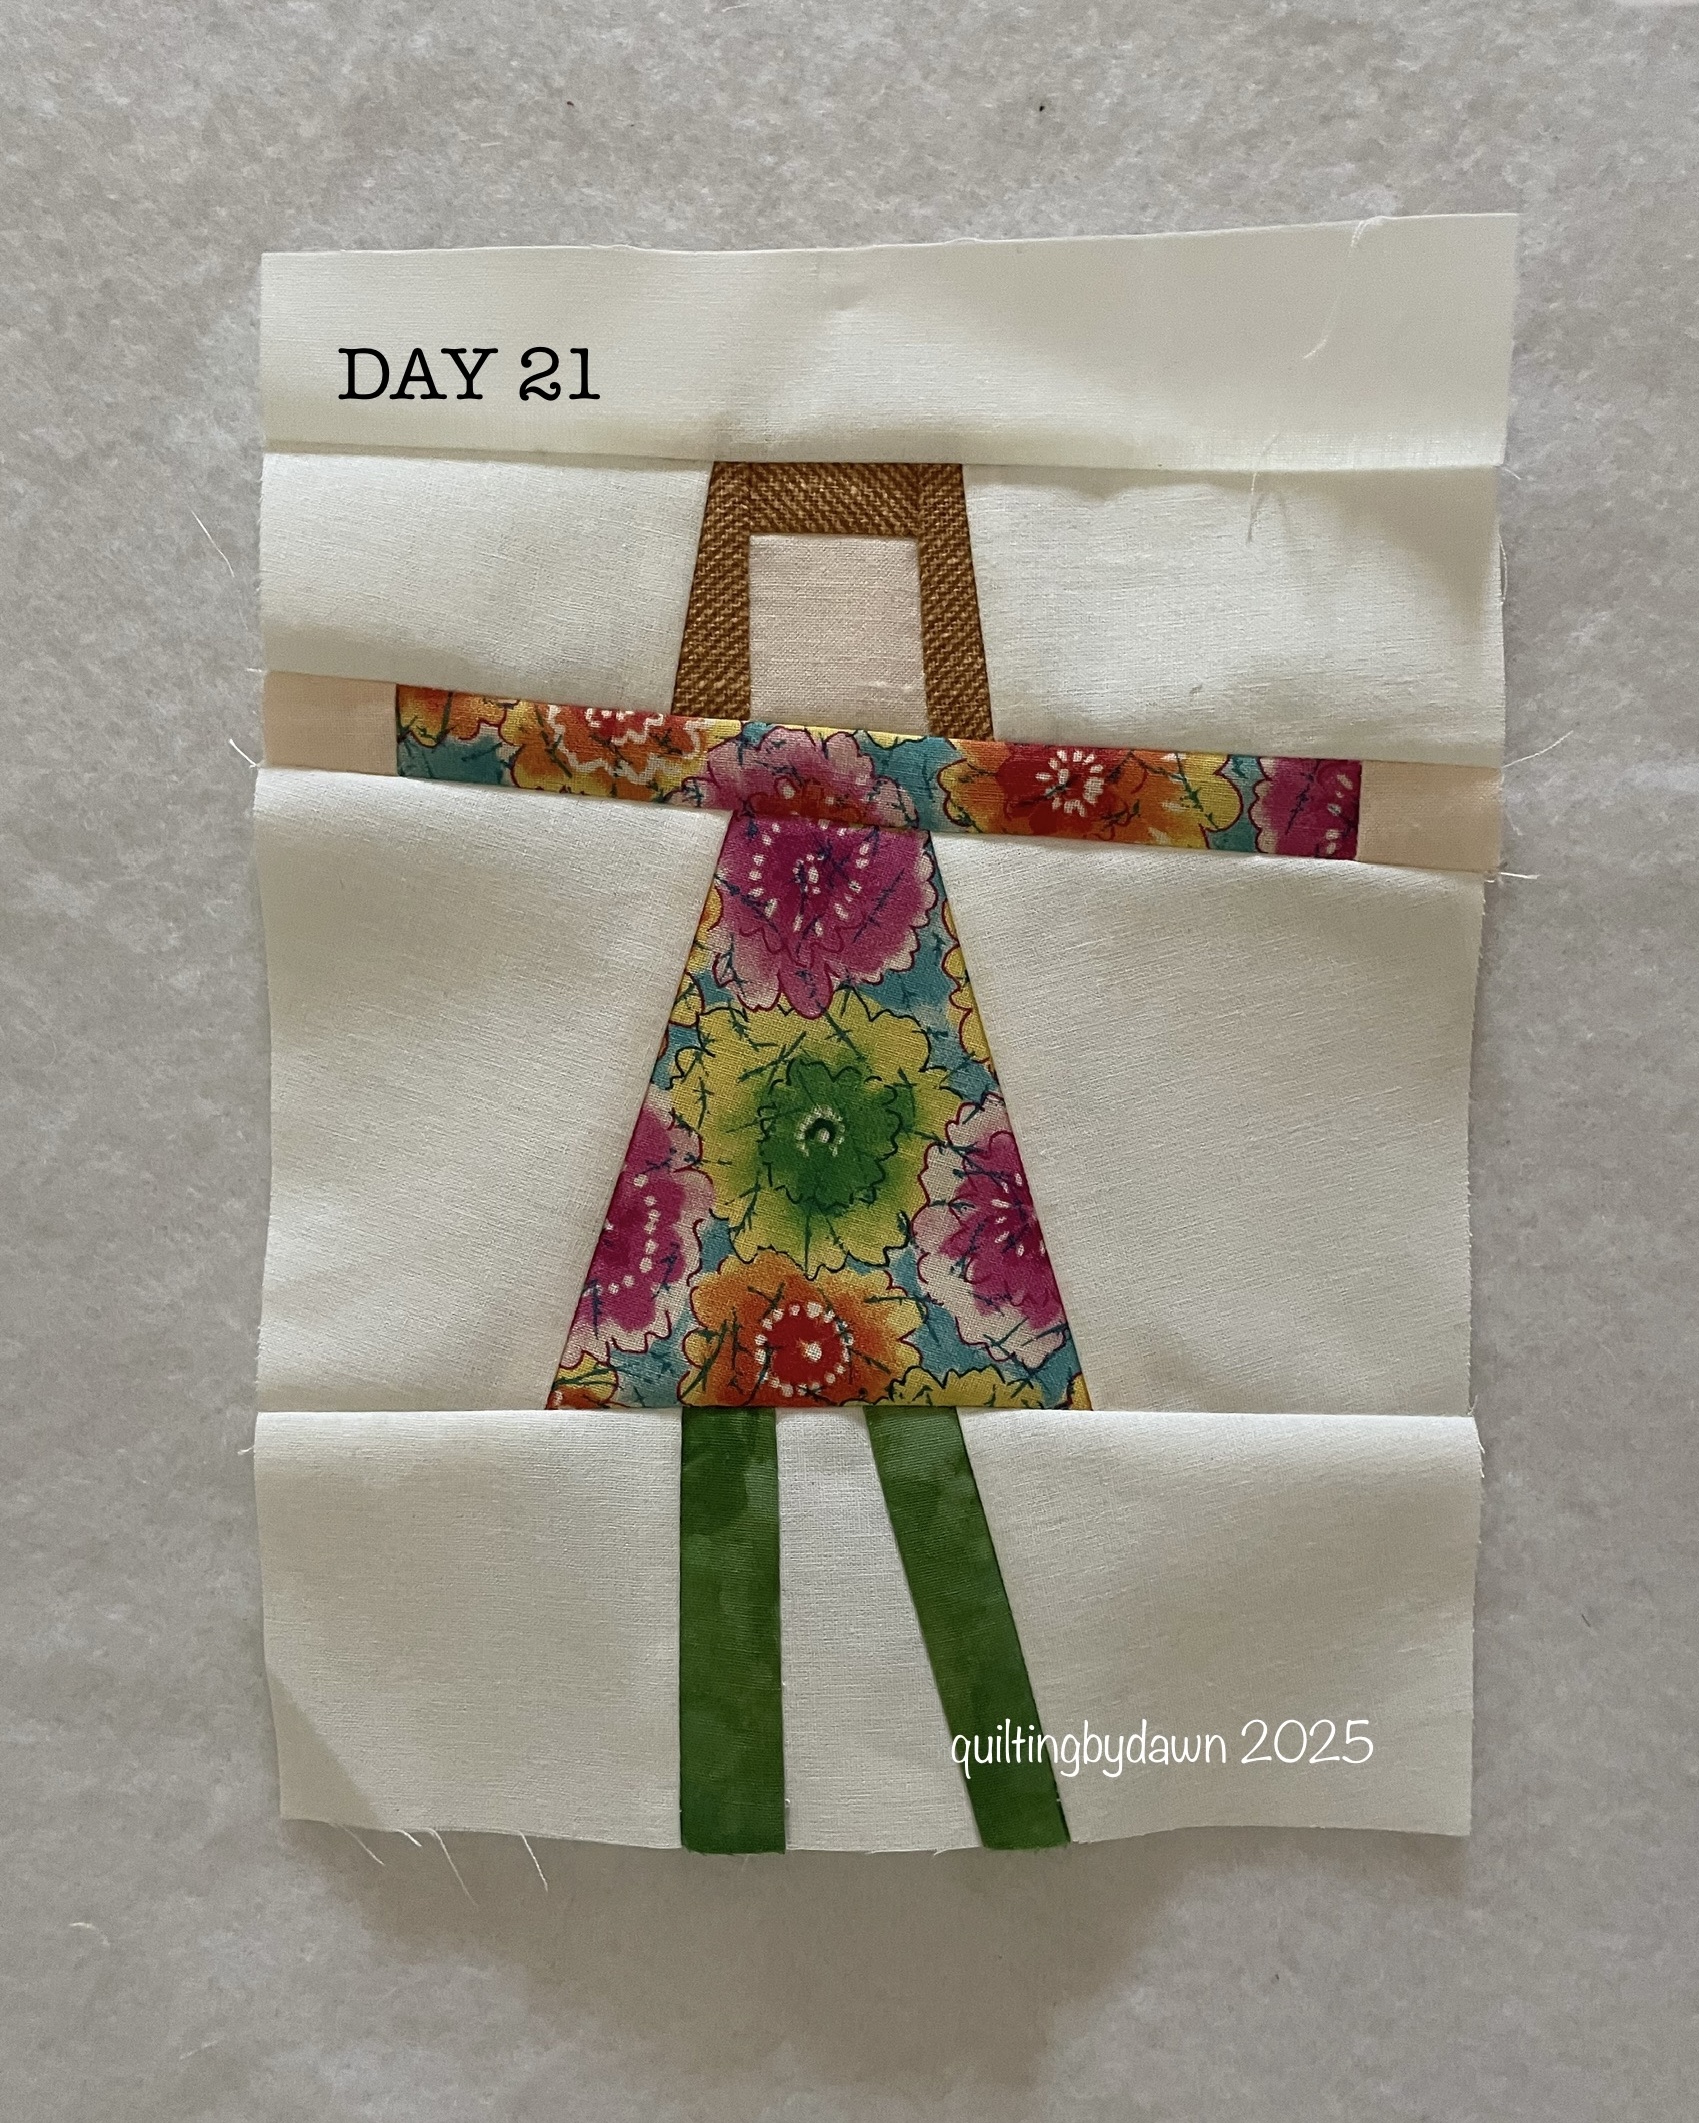
Here are my 5 improv pieced blocks.

Here are 6 months of RSC improv blocks!
I'm linking up to ScrapHappySaturday over @SoScrappy!
Another quilt project that I made from a class through the @craftymonkies platform was a caricature of my pet, Nellie. The class was taught by SarahSpencer, @iothealien Sarah's methods were new to me and I really enjoyed the class.

After creating a likeness of Nellie (not her true colors) from a photo using raw edged applique, I outlined it using a technique new to me, quilted, and stretched it over a 12" x 12" canvas frame.
She has been a sweet girl to us and is now in her senior years of slowing down. I really wanted to see if I could make a quilt from a photo of her. I may try one in her true colors!
Linking to Off the Wall Fridays @Creations-Quilts, Art, Whatever, Wait Loss Wednesday @TheInquiringQuilter, Finished or Not Friday @AlyciaQuilts, Sew & Tell @MelvaLovesScraps, and To Do Tuesday @QuiltSchmilt