Summer has been crazy busy - regular summer busy and our new retirement busy - which includes travel!
In my last post, I showed the quilt I made for a wedding gift to a very special couple. We have known the bride since she was born and her parents even longer! I asked for help naming the quilt as I was having difficulty coming up with a name that worked for me. After reading many suggestions, both here and social media, as well as asking my daughters, I came up with the perfect name (in my opinion). I finally named it 'Love Grows'! Here is a picture taken on top of Mt Washington!
It was so windy! This is the best of several attempts but it was fun trying!
(more pictures here.)
The finished size is 63" x 73".
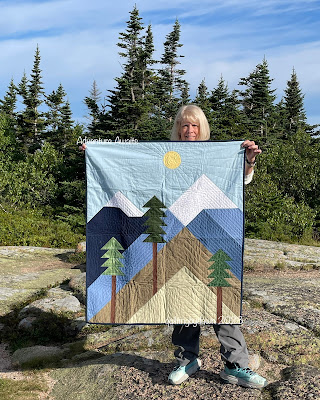
Also in previous posts, I showed you the process of designing and piecing a baby quilt for another special couple. I have also know mama since birth and her parents longer. Our youngest daughter was raised with these 2 girls! Since I was going to miss the baby shower (due to retirement travel), I desperately tried to get this finished before leaving. I managed to finished everything except hand stitching the binding so it came with so I could finish during the car ride. Here are pictures taken on Cadillac Mountain in Acadia National Park.
I quilted this with several different thread colors. I stitched spirals in the sun and straight line rays. The mountains have straight lines following the peaks and the trees are quilted with triangles. The finished size is 36" x 42".
I'm linking to Off the Wall Friday @ Creations-Quilts, Art, Whatever, Finished or Not Friday @Alycia Quilts, Can I Get a Whoop, Whoop @Confessions of a Fabric Addict, Wednesday Wait Loss @the inquiring quilter
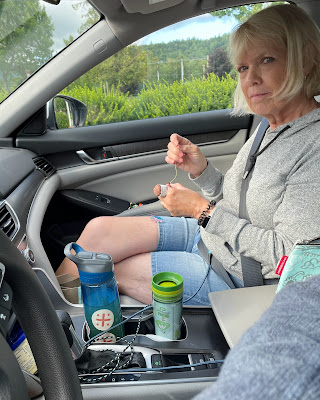
I also brought some EPP tumblers on our car trip and I managed to finish the last 36 as well as start randomly sewing them together in rows of 10.
I'm not sure what the layout will be but at least I got a start on some rows. I can always make them longer. I have 300 tumblers.
My final project for the car ride was to work on an old UFO from my cross stitch days. I was inspired to pull this project out when I saw Annie's @Annie's Musings, cross stitch project that she recently started again. I drew up this pattern from a picture I took after we put on the addition to our house! I got bored with it while filling in the sky/background and I haven't worked on it in years!
This is what it looked/looks like!
Before
After
I have put in a few more rows since being home! Maybe this will get finished after all! I still have all the details/outlines to do after the background is done!
PROGRESS!


