Sunday, September 22, 2024

Summer update: Part 2

 After getting home from the retreat, I got busy and stretched this piece over a 10" x 10" canvas using the technique taught by @Victoriavanderlaan. I call this piece Striped Hype!


In July, we spent a lot of time with our grandchildren! We had a 4 day Mormor & Morfar camp with the last day ending with a sleepover and the next morning breakfast eating out with their parents.
We visited parks, splash pads, nature centers, played games, learned new things,  crafted and built a birdhouse project.
Here are a few highlights:


We had so much fun with the kids!

We also made a quick trip to the Upper Peninsula of Michigan with friends to visit our mutual friends at their beautiful home on Hagerman Lake! We had a wonderful time catching up, playing games, praying, sharing meals, and walking. 


It was a very relaxing and enjoyable visit.

Saturday, September 21, 2024

The Summer has come and gone - Where have I been and what have I been up to?

 Wow! I have been absent for way too long! It has been a very busy season year for us! I will break my updates into smaller segments to not overwhelm anyone including myself!

Our youngest daughter got engaged way back in May 2022. They wanted to finish up her Pharmacy residencies before the wedding which would end in June 2024. The wedding date was set for October 12, 2024! All the planning started!

On Mother's Day 2024, our oldest daughter and her husband announced to us that they were expecting their first baby, due in November 2024. We are so excited!


I had previously signed up for my first @Craftymonkies quilt retreat in Lancaster, PA for June 2024. We drove to PA and my husband camped while I was at the retreat! It was the best experience! The teachers were fabulous - 2 from the UK and 2 for the USA. Rachel, the owner of @Craftymonkies is incredible and the best host!

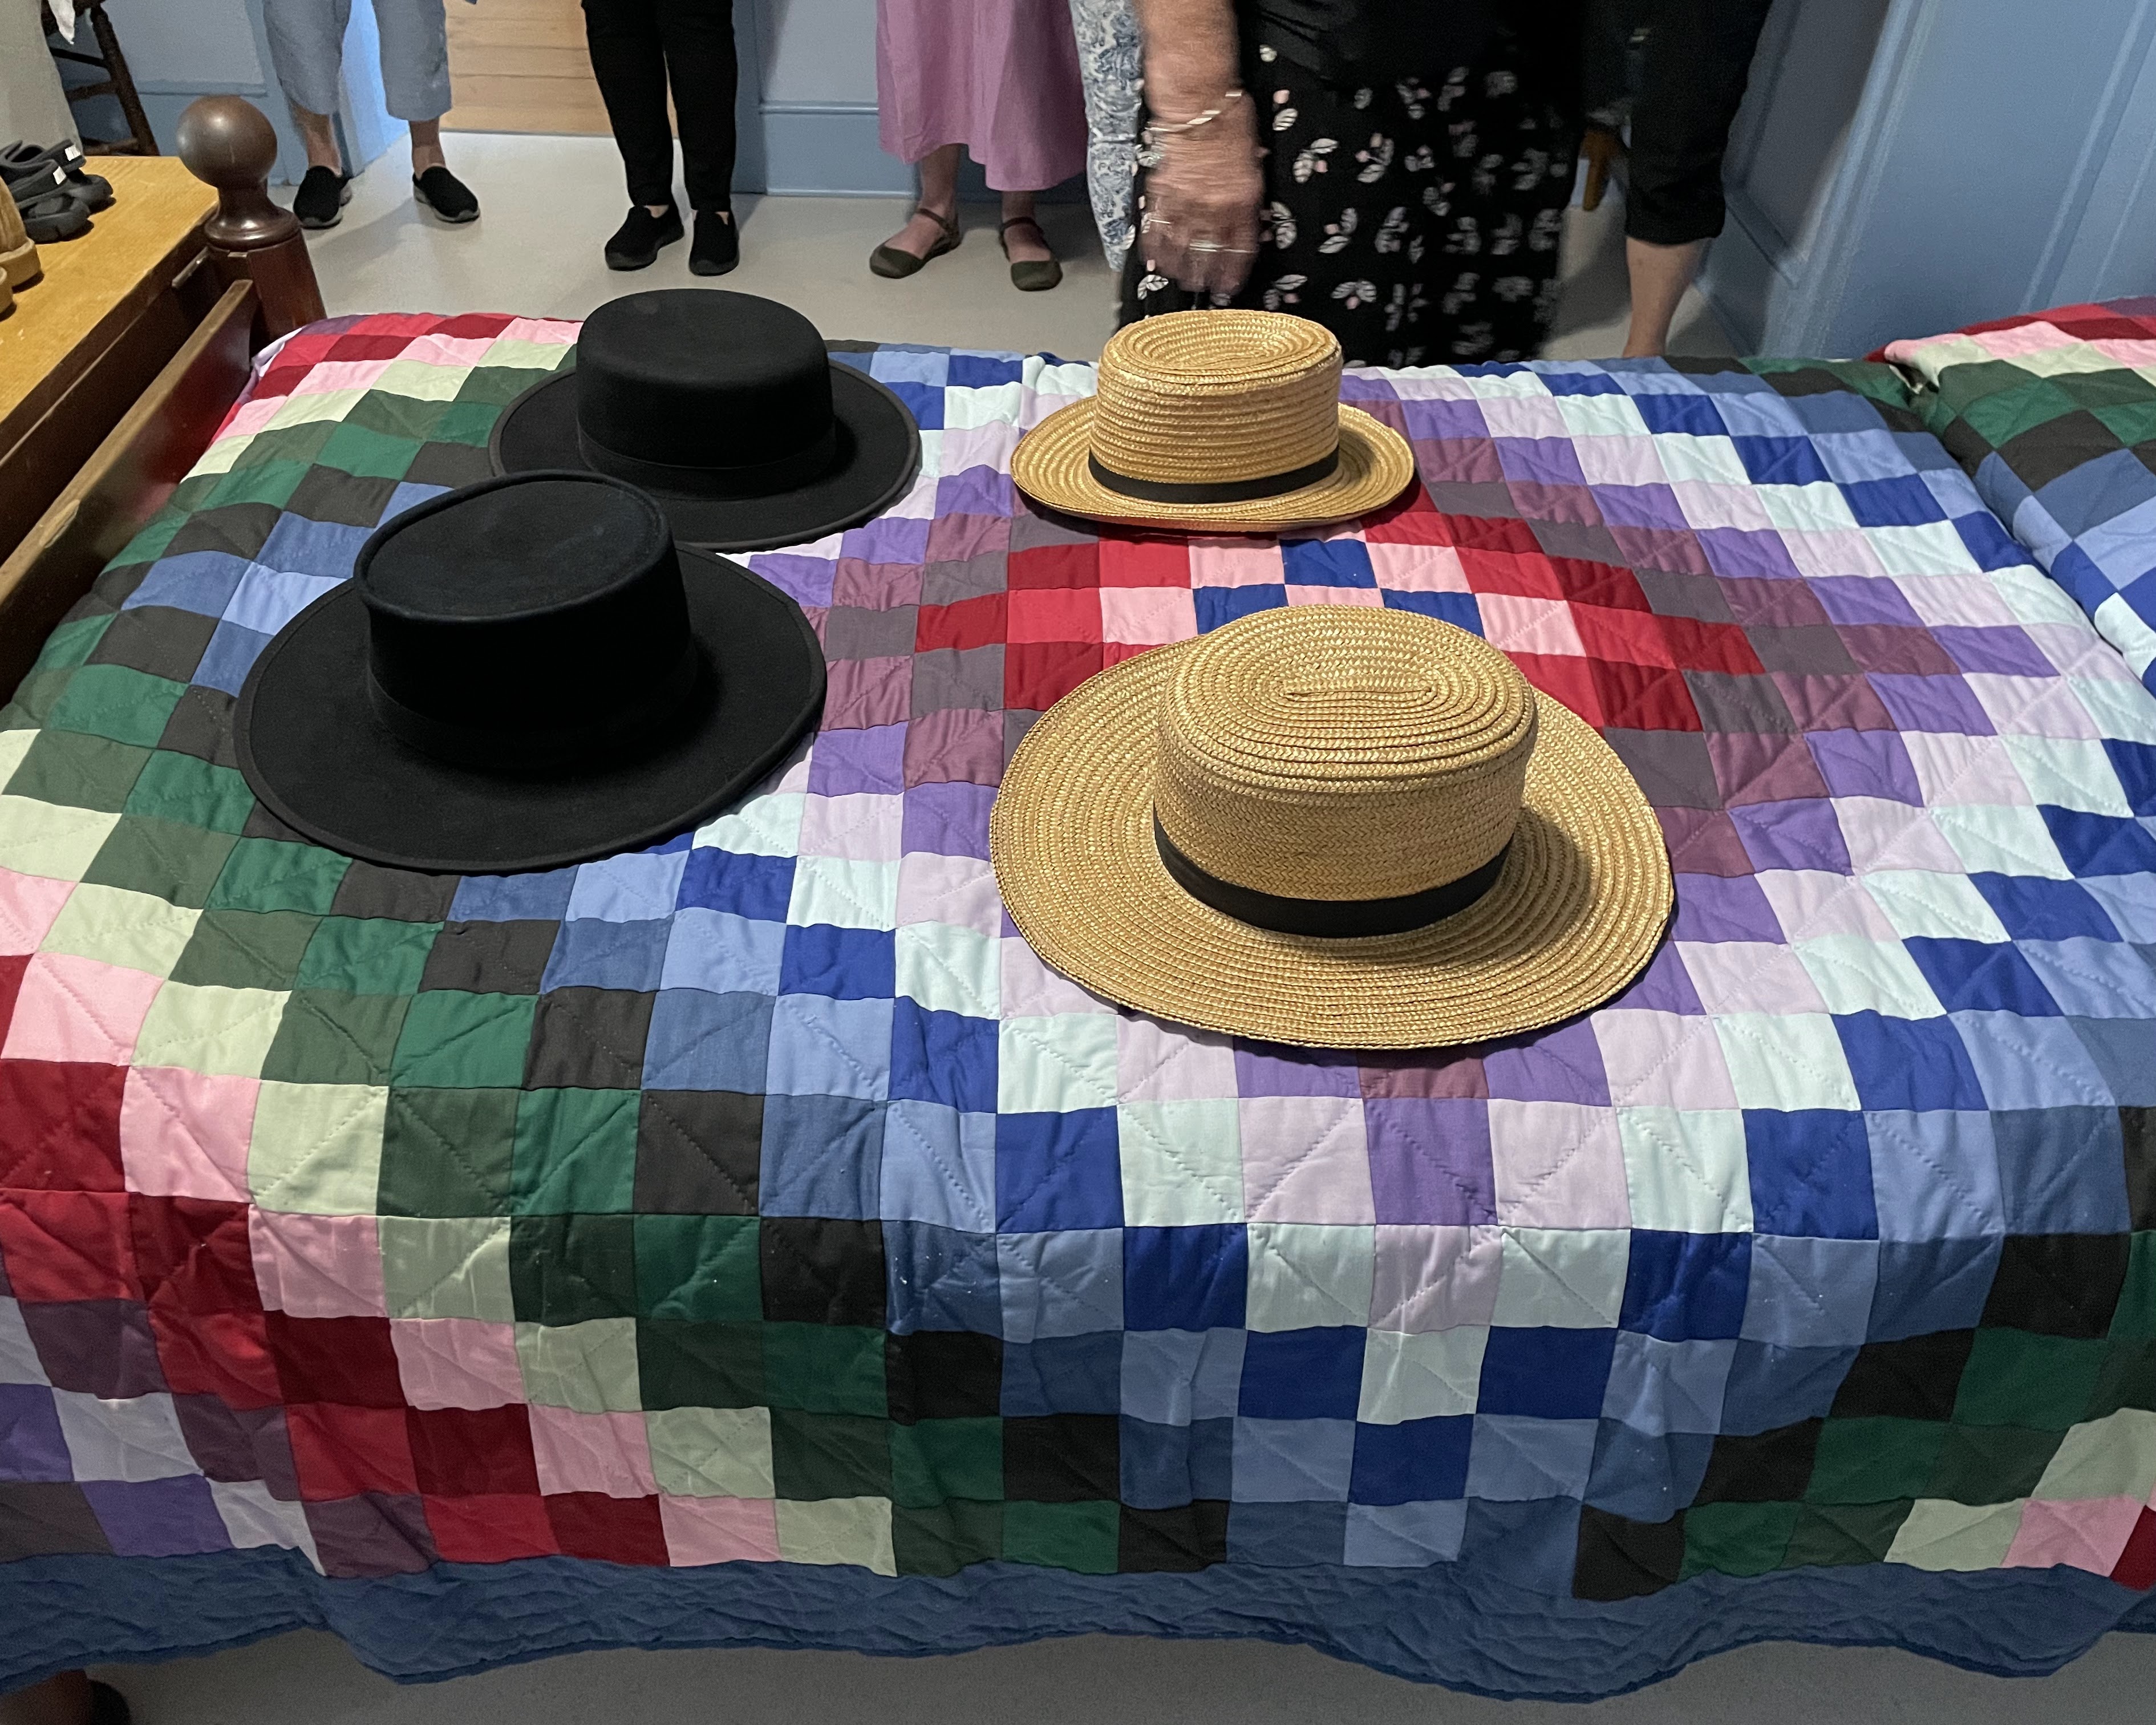
Day 1 was the Amish Day! It included learning about the Amish, visiting Amish stores, fabric shopping, and visiting an Amish family for dinner! 


Day 2-3

The first day of classes were taught by the 2 UK teachers - the amazing and talented @NicholasBall from @quiltsfromtheattic and @SarahHibbert from @quiltscornerstone!

Nicolas taught improv Fruits and Vegetables and Sarah taught Collage to Quilt! I have not fully completed these pieces yet but this is what I finished in class.

My plan is to make the bottom left collage into a quilt and to make several more citrus fruit (orange, lime, and lemon) to go along with my grapefruit!
(Rachel, Nicholas and Sarah in one of the classrooms)

The 2nd day of classes were taught by the 2 US teachers - @victoriavanderlaan 
and @jenniepickett from @cloverandviolet
Both amazing and talented!
Victoria taught her method of textile scrap art. We arranged scraps, stitched them together then stretched them over an 8" canvas frame.

(Victoria vanderlaan teaching)
(Victoria and myself with the piece I created) 

Jennie Pickett taught a bag that she designed for the retreat - The Agnes Bag. It was a bit challenging for me as I am not a bag maker. I am pretty proud that I did actually finish it (with a zipper closure!) 

(Jennie and myself with the bag I made!)
(Several of the pieces and bags made on the 2nd day of classes!)
I made several new friends at the retreat!

Here are just a couple:

(my roommate, Susan...we were put together by Rachel)
(Elizabeth, a fellow quilter from the suburbs of Chicago)
Rachel and myself - I adore this lady!

So if you haven't heard of @Craftymonkies, you should head over to the website or search for craftymonkies on Instagram. There are live zoom classes with teachers from all over the world, video recordings to purchase and watch on your own, and of coarse, the retreats offered. I personally love the platform and have taken the classes in all forms! ❤️

That's Part 1 of my busy, busy summer! How was your summer?

Thursday, May 9, 2024

A couple of finishes and work in progress

 I have been working on a quilt for a friend of our family. Their oldest son graduated from HS last year. I made t-shirt quilts for both of his cousins but he didn't have  enough t-shirts saved. I debated over what I should make and I decided to make a quilt around the years that he played hockey. After requesting pictures from his parents, I finally got started on the quilt. I never worked with photo transfer fabric before so I did some research and decided to use EQ fabric for Inkjet printers. 

The pictures I wanted to include in the quilt were to be 8.5" square, the width of the transfer fabric. The problem is that each individual sheet was 11" in height. That would mean the waste would be about 3" per sheet. I then discovered that EQ made a inkjet fabric continuous roll so you could cut the size you needed. 

My daughter helped me with setting up my printer to accept a 8.5" x 8.5" size paper. I crop the pictures to 8.5" square and following the directions, I was able to print the photos. This worked really well. 

Next I worked on figuring out the layout for the quilt. I had pieced his last name and centered it on the top portion of the quilt. I also pieced the 2 numbers he wore on his uniform over the years. I put them on either side of his name. 


I used the green, white and black team colors and tried to make the quilt look a bit like the jersey. 


I do like the way the quilt turned out. I did have some issue with the loose dye from the green fabric adhering to the photo transfer fabric. Yes, I did prewash the fabrics and used several color catchers. You can see that the green did not bleed into the white except in the photos. I did soak the quilt in Dawn to try and get more of the dye out but it must be the treated fabric that is allowing the dye to adhere to the photos. At least the faces are not green and for the most part it is only the background.  

Another project I've been working on is more blocks of the Cindy Grisdela quilt I showed in my last post. I added more blocks and put the top together. 
This will finish at 36" x 48" unless I decide to put on some borders.
 
I'm excited to show you the Improv ABC quilt that I made following the technique of @NicholasBall. I took a class with @craftymonkies to learn his technique. I thought that it would come in handy for a quilt with just words. 
I had most of the letters and some of the punctuation marks finished by the end of the class. I decided to hand stitch this quilt. That took a bit of time since I could only do 2-3 letters at a time. 


I added a facing to finish this quilt. 
This quilt will hang in my sewing room to use as a reference to making other letters! I need to add the label, a hanging sleeve and I probably go back and do some more big stitch quilting in the larger negative space. 
That's all for now! I need to work on my RSC block for May and get ready for my quilt retreat in June! 


Saturday, April 13, 2024

A new month, a new color and some finishes!

 April's color is Yellow and I have made my Circle of Friends block for the RSC!

I also took a video class by Cindy Grisdela to learn her technique for scrappy curves. They are fun to make. She uses one print fabric and 3 coordinating solids in each block. I'm again using older fabric left over from a quilt I made in 2007 called French Roses.  
Here are the blocks I have finished. 
(I think I have made 2 more sets after this picture was taken)

I have 2 finishes! One is a micro mini quilt. If you follow me on Instagram, you saw that I went down a rabbit hole while looking on Pinterest for small projects. It is definitely a learning process to get your points to match when the pieces are so small but it was fun yet challenging! The tutorial is @jamiemswansonquilts if you want to try!

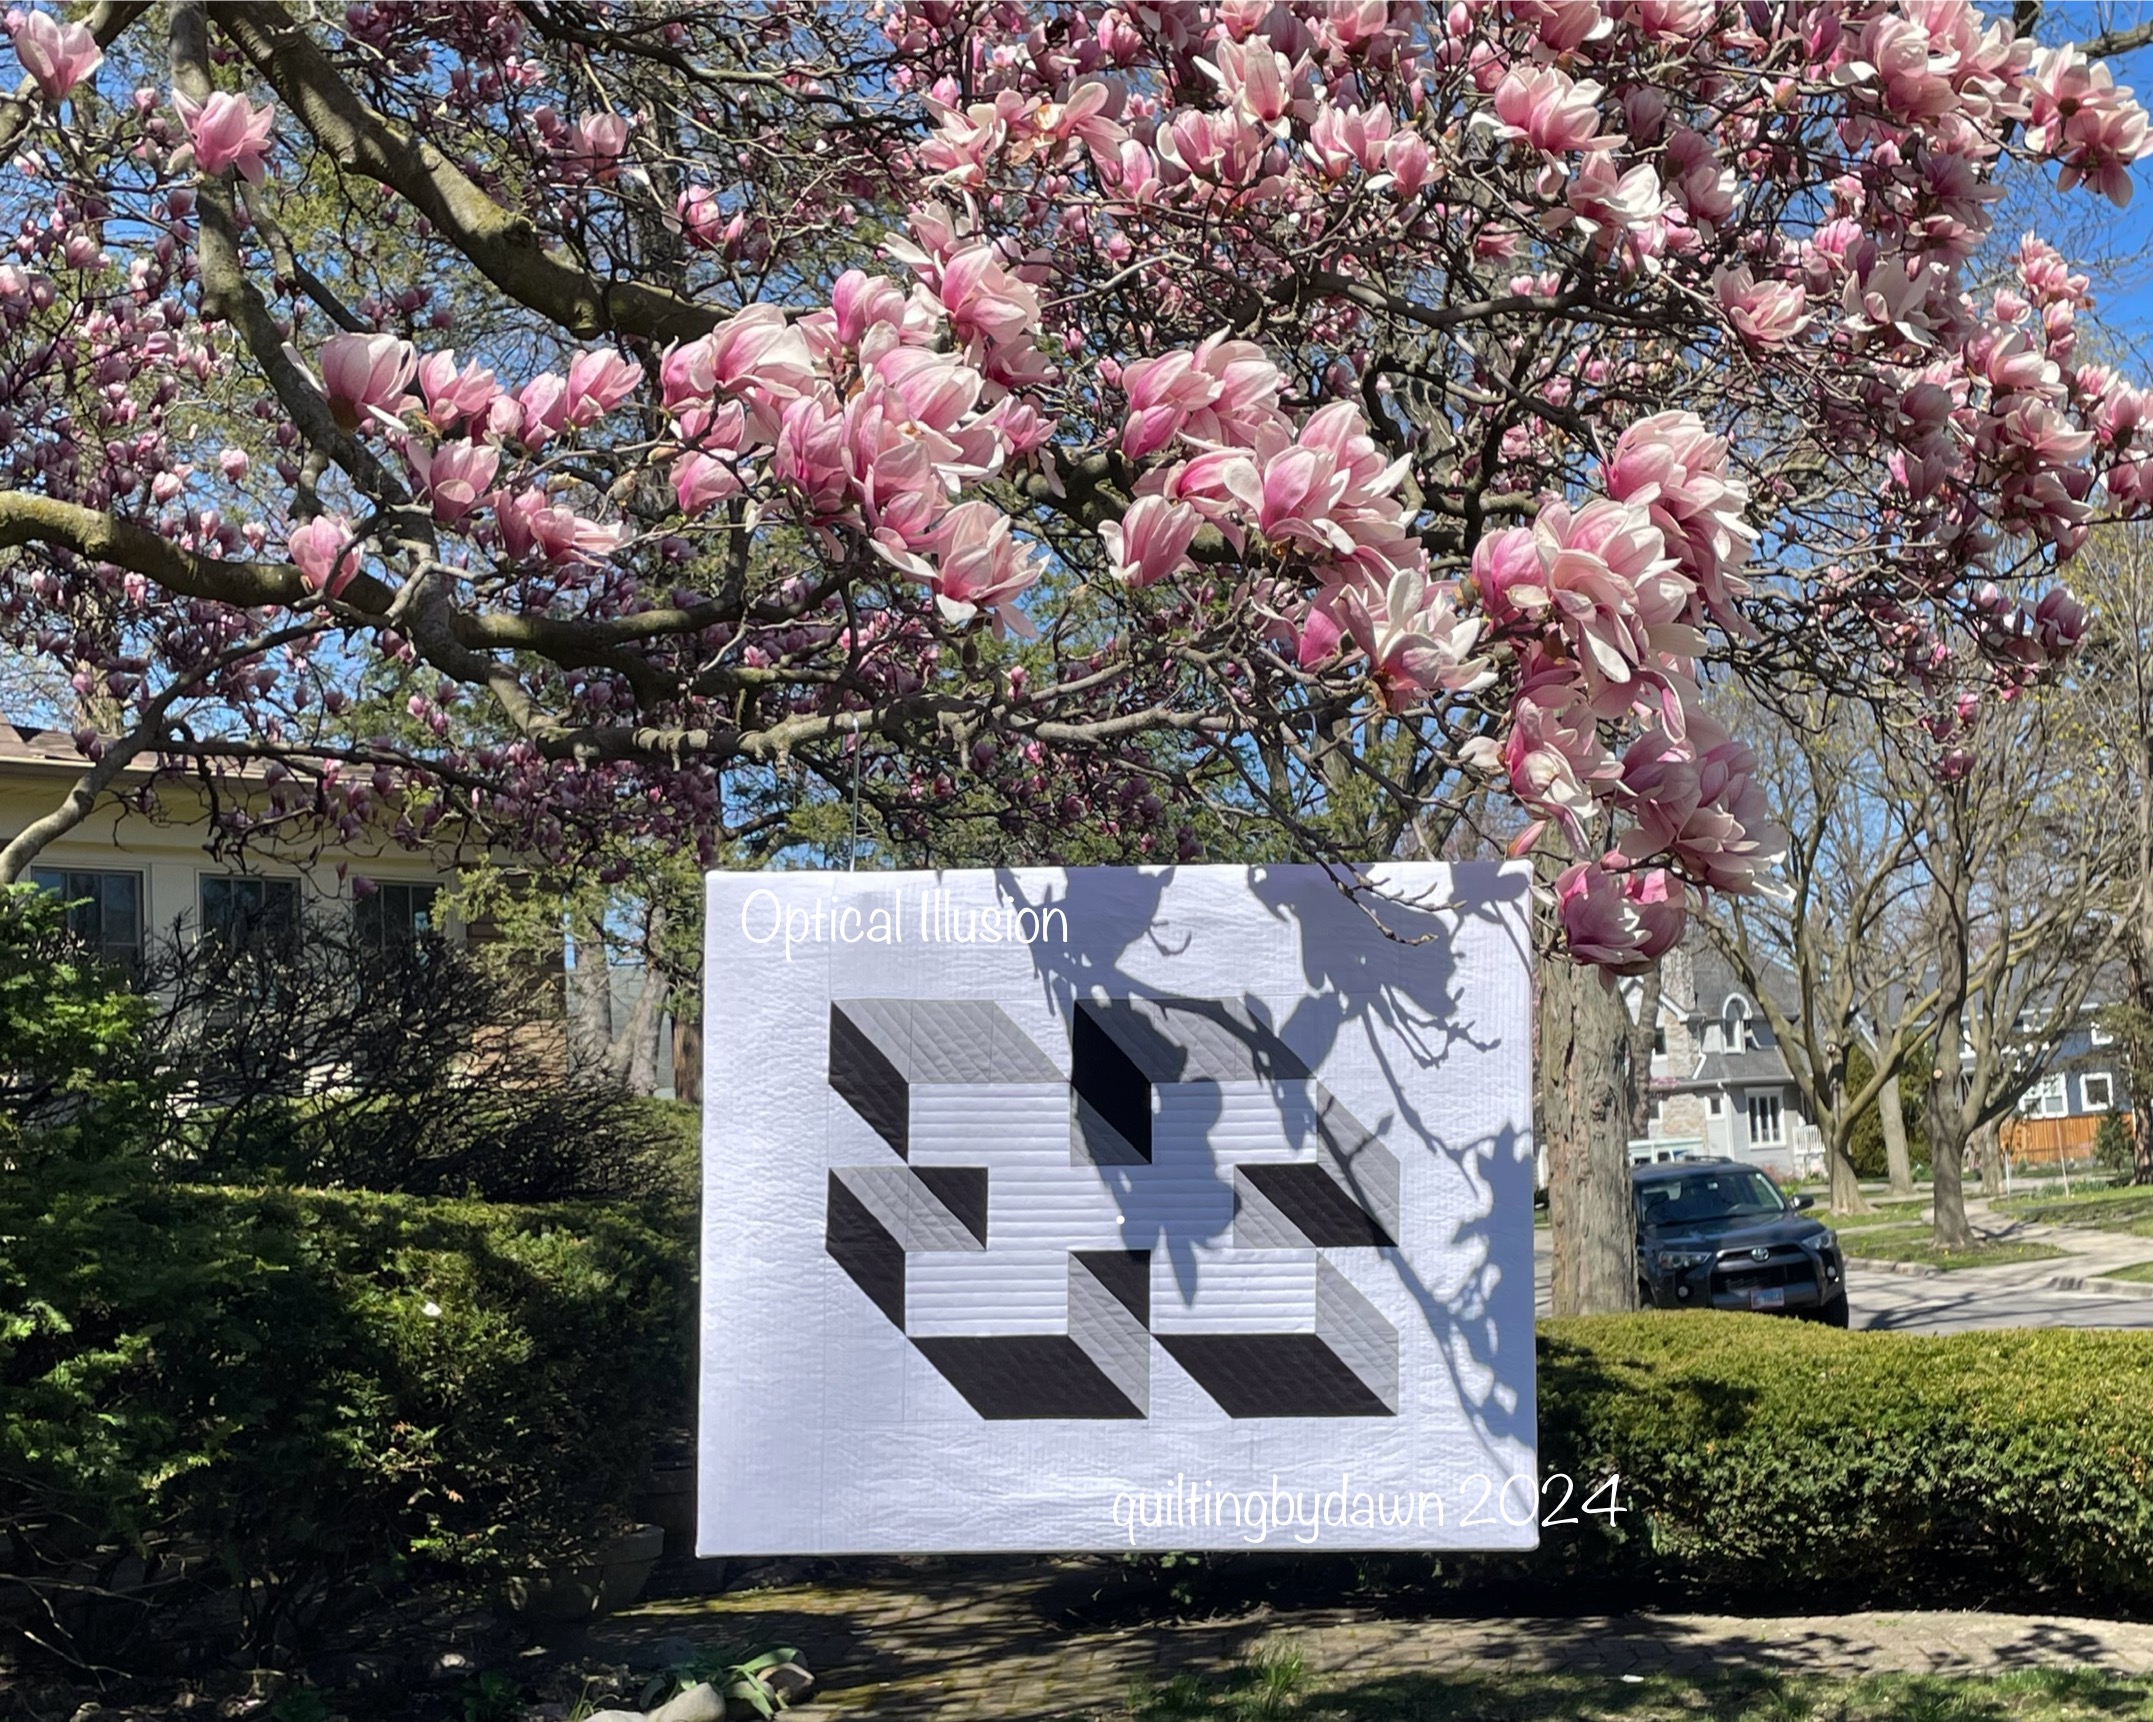
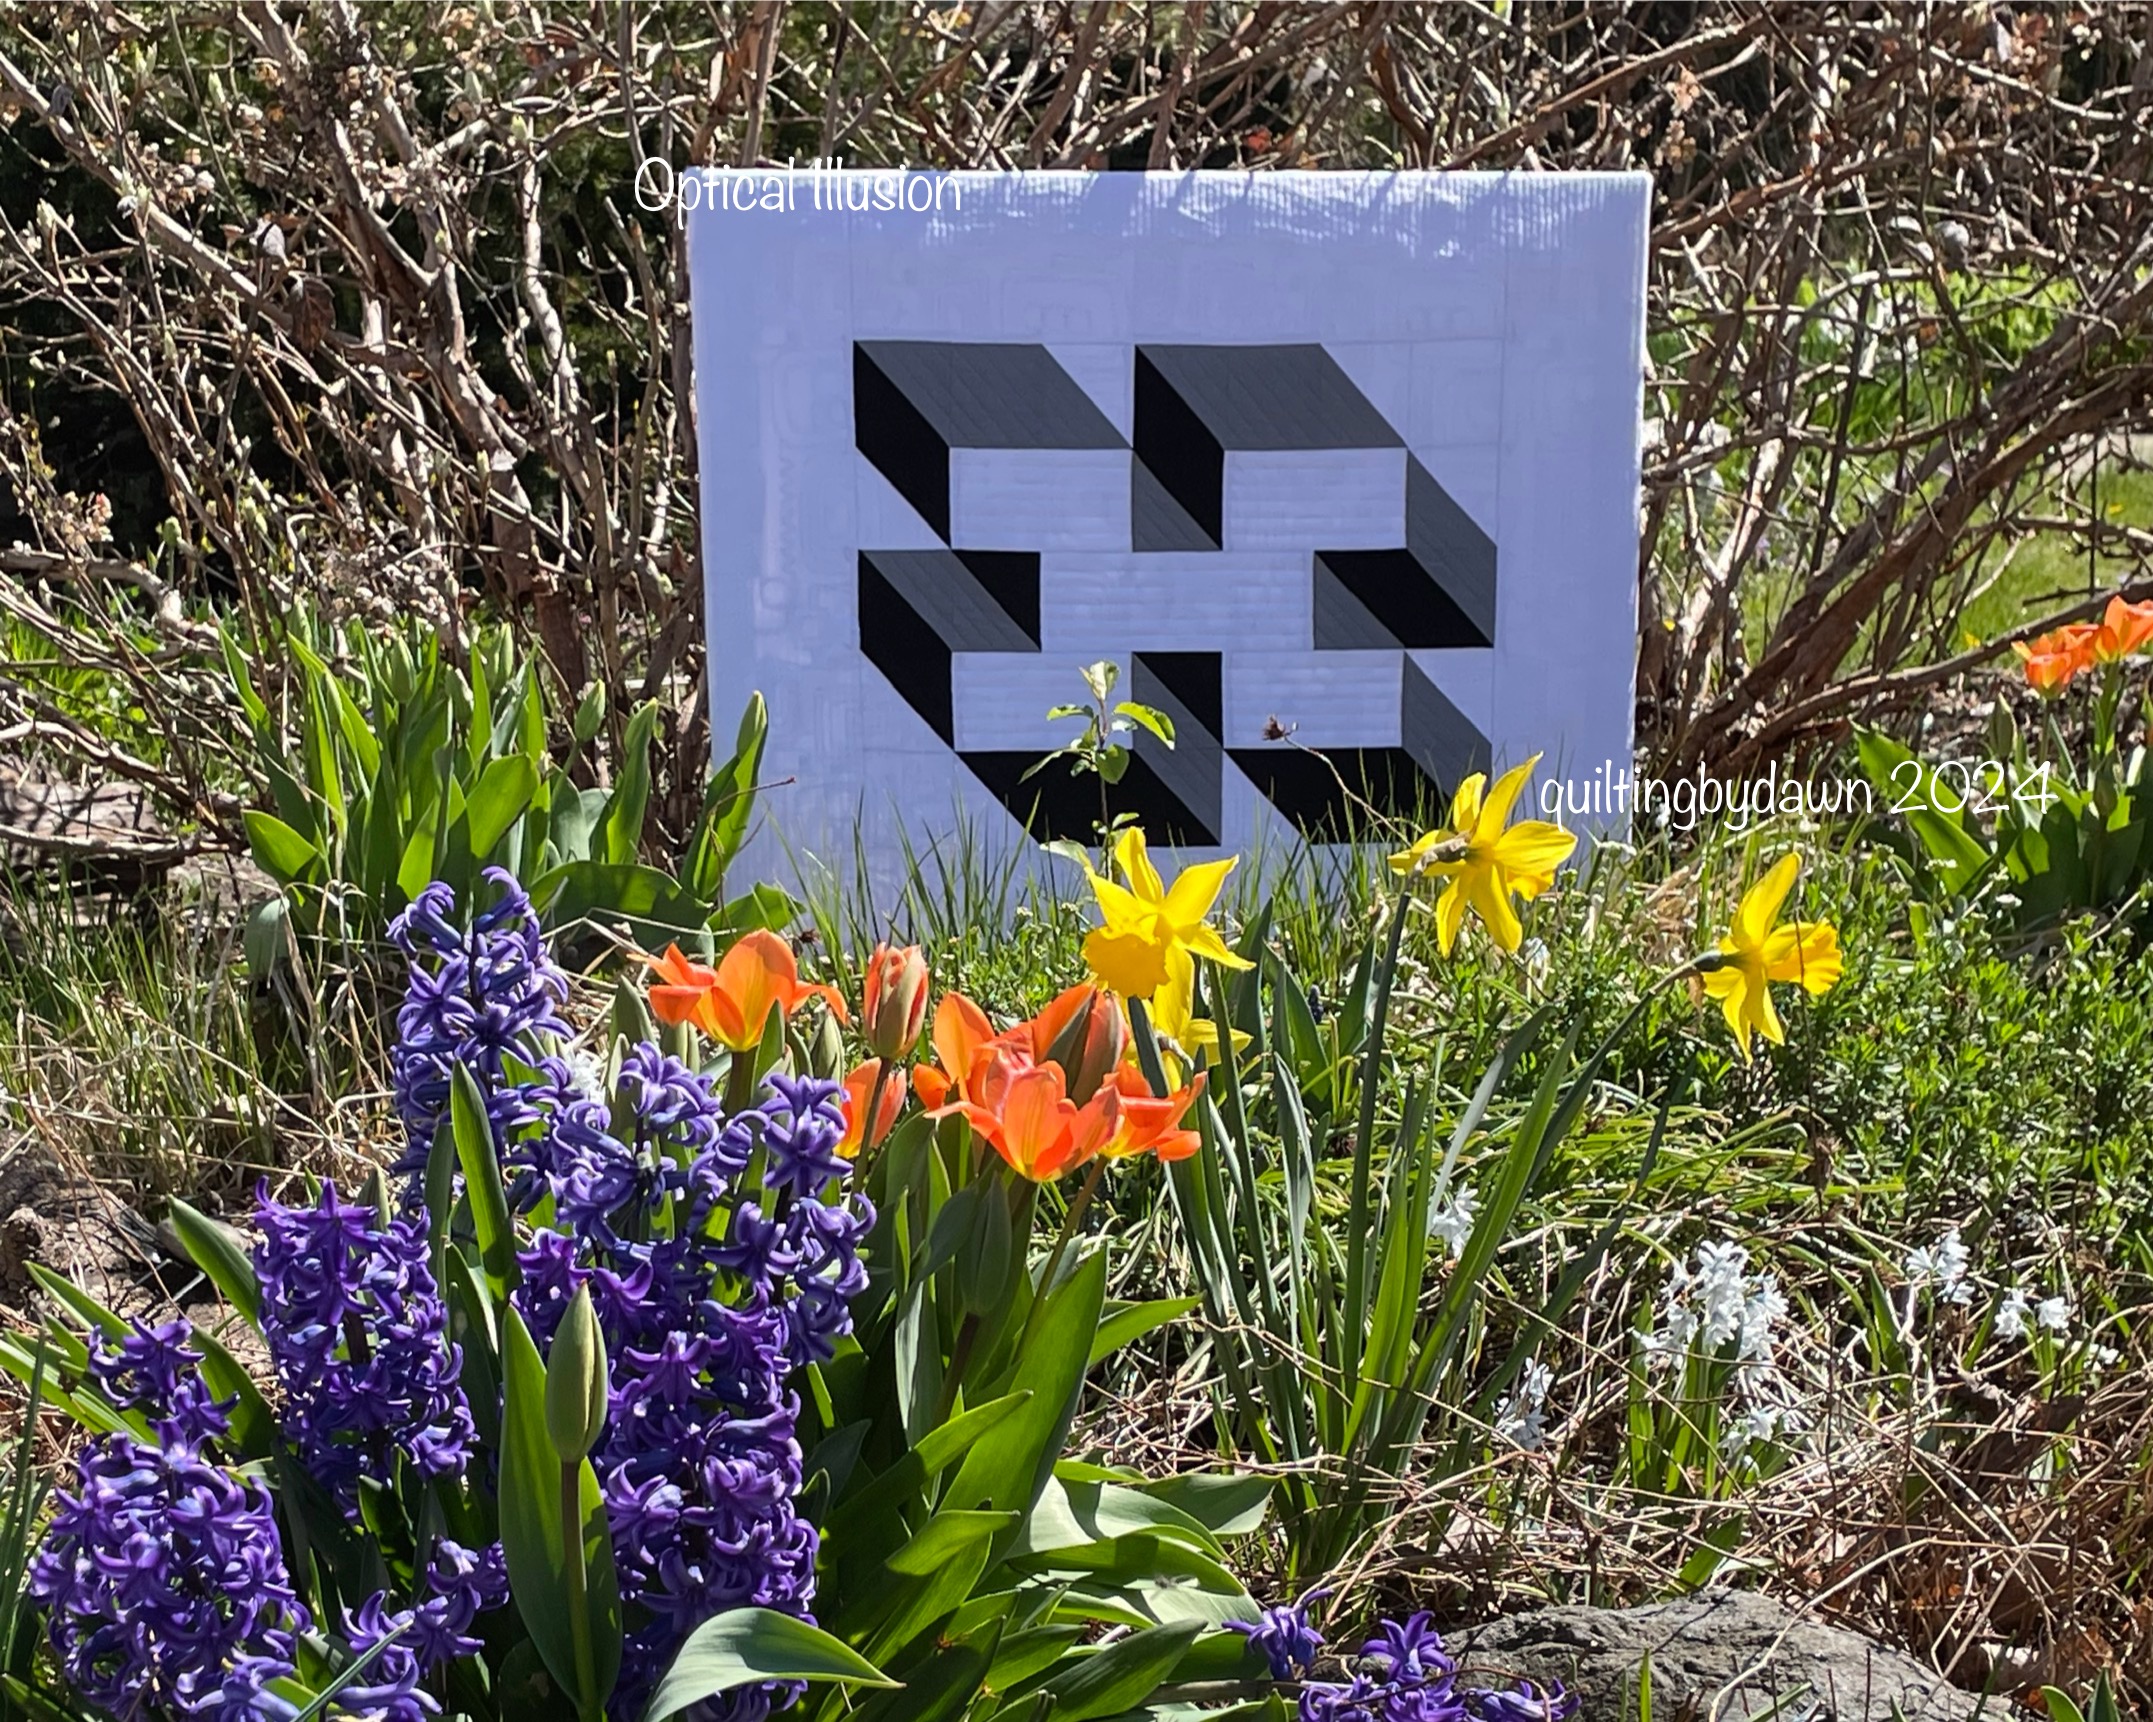
The second finish actually has been finished for a week or so. After it was quilted, I decided that I would stretch it over a frame. I asked my hubby if he would make me one (he made one previously for my Organic Shapes quilt here.) He said to give him the dimensions. I measured the unfinished quilt and gave him the dimensions. He made the frame and gave it to me, that's when I realized I didn't take off the seam allowances so it was .25" to large all the way around. I asked him if he could fix it or make a new frame (saving this one for another quilt). My good hubby said that he could rip .25" from each side but that it may have to wait a bit. I went ahead and made the facing strip that is used to stretch over the frame, then waited for my good hubby to correct my mistake! But now it is completely DONE!
My friend's beautiful magnolia tree

stretched over the wooden frame
among spring flowers
Linking to Finished or Not Friday @AlyciaQuilts, ScrapHappySaturday @SoScrappy, Off the Wall Friday @Creations..., and Linky Party @Patchwork and Quilts, TGIFF @KatieMaeQuilts, Wednesday Wait Loss @TheInquiringQuilter

Saturday, March 30, 2024

It's been awhile but I have a few updates!

 In the nick of time, I am posting my RSC block! March's color is purple and here is my purple Circle of Friends block!

Here are the first 3 months blocks

Ready for April! Where does the time go? April's color is yellow!
I'm linking to Scrap Happy Saturday @SoScrappy.

I also finished my Best Buds quilt. I joined the QAL with Lindsey @PenandPaperPatterns and over 6 weeks, we were to have the top finished. I accomplished that goal! 
It was up to us to finish the quilt on our own. I needed to decide how I wanted to quilt it. I debated with myself if I should do straight lines, checkerboard or an overall pattern. I finally decided on quilting baptist fans across the quilt. The quilting took a long time on my domestic machine but I'm pleased at the finish!


The fabrics I used were all from my stash (probably inherited from my mom's stash) except for the Kona white. I used up all of the pink and most of the blue fabric! Such a good feeling!
The pattern is Best Buds by @PenandPaperPatterns. If you have never made one of Lindsey's patterns, you should. Her patterns are cute and very well written. I have a hard time resisting them. 
This quilt is fairly large, finishing at 71" x 85" 
Here are a couple of close-up pictures of the quilting! I used my EZ Circle Cut template to mark my stitching lines and quilted in a pink thread. 
On my design wall:
I also have been working on a small 3D quilt just for fun! Here is the finished top!
I saw this print image somewhere (sorry I don't remember but if anyone does I will give credit back to them) and decided to draw it up and see if I could recreate the 3D effect in a quilt. Now to quilt it!
I'm linking to Finished or Not Friday @Alycia Quilts, Wait Loss Wednesday @The Inquiring Quilter, and Off the Wall Fridays @Creations