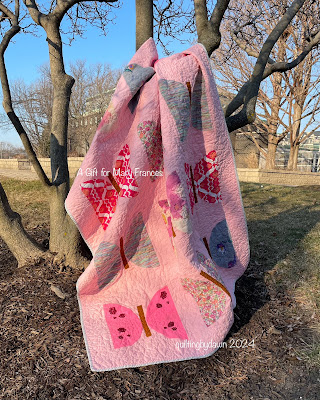
I'm excited to show you the 2nd Metamorphosis quilt (by Lo & Behold Stitchery) I made for the 2nd oldest niece of my colleague and friend. You can read about their story and see the first quilt here. As with the first quilt, the wings of the butterflies are pieced from their mom's clothes.
Sunday, February 25, 2024
Memory Quilts
Saturday, February 17, 2024
Best Buds and RSC
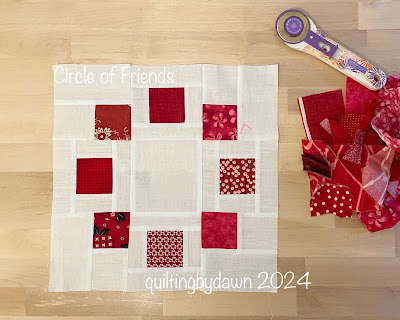
I joined in on the Best Buds QAL which is hosted by Lindsey @PenandPaperPatterns. I have made several of her patterns (and purchased several more). I am drawn to her designs! Her patterns are well written and easy to follow. I am using fabric in my stash. To figure out if I liked the combination, I made 2 blocks - 1 in each color combination.
Today, I got back into sewing along with the Best Buds QAL. It is week 3 and by Friday I should have 14 flowers stitched. This is what my design wall looks like now - 10 flowers finished!
For Valentine's Day, I made 2 fabric postcards for my grandchildren. I follow the tutorial by Annie @FreezeFrame03
Friday, February 2, 2024
A Reveal!
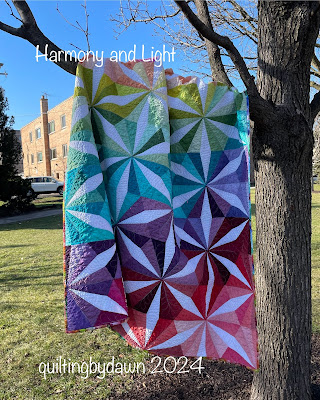
This week I finished my Harmony and Light quilt! On Saturday night I put in the final stitches in the binding. On Sunday, I buried threads before throwing the quilt in the washer and dryer. I pulled it out so soft and wrinkly!
Since the sun made a brief appearance (the first in almost 2 weeks), I decided that I needed to go on a photoshoot right away. You never know when the sun will come out again!
The Harmony and Light pattern was designed by Christina Cameli @afewscraps. Back in 2022, I saw an notice that there was a free tutorial and pattern offer by Quilt Daily if you signed up. Christina's version of the quilt is beautiful made in her Sagura fabric line. I fell in love! I signed up and received the pattern download. While my husband and I were vacationing out west, we decided to stop in Hamilton, MO on the way home. I shopped for the fabric for this quilt at Missouri Star Quilt Co! I decided on Ombre by V & Co. in several different colors.I did use similar colors as Christina but I basically used solids rather than prints.
It took a while to start cutting all the wedges but Christina's method was very helpful. Once finished with the cutting, I was again intimidated by all the colors and how to place them. The video tutorial again was very helpful as Christina described her method. Slowly, I started sewing the wedges into triangles with the white wedge between 2 colors. Once I had the required 140 - 60º triangle pieces and 20 end wedge pieces in piles based on the progression of color, I needed to decide how to lay them out in the quilt. Once again, I turned to the tutorial to learn Christina's thought process on this stage of the quilt. I did want the diagonal movement across the quilt so it meant dividing up the colors into several rows while maintaining a flow of colors.
The cutting, piecing and placement took a good year to accomplish as I finally finished the top in the beginning of January 2024! There was one last tutorial for the QAL and it was all about how to quilt the quilt. Again, Christina talked about her method of breaking down the shapes in the quilt - the white diamonds and the 'kite' shapes on either side of the white diamond. She suggested to start quilting at one of the kite shapes on either side of the white diamond (with feathers), then the other sides kite shape, followed by the whole length of white diamond (wavy line). Once you finish the diamond, you can turn your quilt and do the kites on the other side. You can actually go across the whole quilt in this method eliminating too many stops.


